Warning - this is a long but informative post!
Okay, so I began my very daunting project of wallpapering one wall of my son's room today and I have some tips already. Let me start by saying that both my parents and husband said I should just not do it. It's too hard, messy and prone to problems. But the thought of this awesome paper on one wall of his room was too much to resist. So, caution to the wind, I set about the project!
I measured the wall and ordered two rolls of paper. I have already discovered that I will need to order another. A couple of things happened. First, I unrolled the paper - just to look - and it tore about 6ft in (tears). Second I didn't think about matching the pattern and the amount of wastage that occurs by having to do this. So TIP #1 - Get more paper than you think you need.
Wallpaper patterns repeat at various intervals. It is not something that I saw on the website or even considered but mine repeats about every 1.5 feet. That means that in order to match it up sometimes I lose almost a foot in excess. Darn. So if you are buying paper check that part and then order enough. Actually, rule of thumb is buy one more role than you even think you might need. I now have to order another role and pay the shipping so it is costing me more :(
Okay, so once you have purchased the paper you need to stick it up on the wall. All wallpapers are different and the instructions for how to adhere it are written on the role (at least mine were). Some papers have the adhesive already on the paper and you just have to imerse the paper in water (messy if you ask me) and some are the type you can paste the wall and then stick the paper on the pastey wall. And the third is the old fashioned kind where you paste the paper and then stick it up. TIP #2 Wait until you get the paper in hand before you buy any supplies.
Did you know that Home Depot has not carried wallpaper paste and supplies for 2 years? You can get it online but I found what I needed in person at an ACE Hardware.
Saturday, March 24, 2012


Thursday, March 22, 2012
room makeover - furniture refurb
The painting is finished! On to the next and what feels like the 110th part of my project to turn our guest room into a little boy room was to refurbish 2 dressers. These dressers have been around since my husband was a kid and he had them in his room. When he moved out, they moved with him and into our first apartment, our first house and now our son's room. If wood could talk.....
 |
| Dresser with white primer |
 |
| Even with the mask I had paint up my nose - ick. |


I had some crackling which made me crackle I can tell you. It wasn't cold or too hot when I was spraying so it may have been a substance under the paint that caused the issue. However, when I didn't use primer I didn't have any crackling. Not sure what that means....
 |
| Sun is shining very brightly! Almost makes my dresser look angelic. |

So far I'm about halfway through the list of things to do in this room. Just finished the trim today and wallpapering starts this weekend - gulp.
I shared this story at some awesome link parties - check them out.
Saturday, March 3, 2012
journey of one thousand miles
begins with one step. I think that is how it goes.

So this week I started on my son's new room. I am going to do a cowboy theme and this wallpaper has been ordered. I am beyond excited about how it is going to look. I am not that excited about actually putting it up! I am just doing one wall in the wallpaper and the rest will be painted in blue. The list of tasks is long but I am excited about putting it all together.

Here is a look at my to do list:
1. tape room
2. paint ceiling
3. second coat ceiling
4. paint 3 walls blue
5. paint trim and doors
6. paint inside of wardrobe
7. paint blackboard paint on closet door panels
8. sand and prepare tall boy and dresser
9. paint tall boy "poppy red" and dresser "navy blue" (many steps here!)
10. wallpaper wall
11. steam clean carpet
12. order bed
13. create and hang wall features/shelves
14. sew curtains
15. sew quilt and pillowcases
16. move little boy in, smile and take a vacation.
I will try to keep you updated!

So this week I started on my son's new room. I am going to do a cowboy theme and this wallpaper has been ordered. I am beyond excited about how it is going to look. I am not that excited about actually putting it up! I am just doing one wall in the wallpaper and the rest will be painted in blue. The list of tasks is long but I am excited about putting it all together.

Here is a look at my to do list:
1. tape room
2. paint ceiling
3. second coat ceiling
4. paint 3 walls blue
5. paint trim and doors
6. paint inside of wardrobe
7. paint blackboard paint on closet door panels
8. sand and prepare tall boy and dresser
9. paint tall boy "poppy red" and dresser "navy blue" (many steps here!)
10. wallpaper wall
11. steam clean carpet
12. order bed
13. create and hang wall features/shelves
14. sew curtains
15. sew quilt and pillowcases
16. move little boy in, smile and take a vacation.
I will try to keep you updated!
Friday, February 24, 2012
cocoa nut
So you can see from my last post that I am a fan of chocolate. A big fan. In fact I usually look something like this.


and this...

and this...

and I mean, seriously?

I have to confess this morning I ate one cocoa puff from my son's cereal bowl. It was automatic! As soon as I had crunched the sweet little morsel I realized what I had done! Too late. Oh well, from here on - no more. Wish me luck. And for those of you not silly enough to deprive yourself until Easter.

In honor of Lent and my expanding thighs I have given up chocolate. 40 days and 40 nights of misery stretch ahead. I am in to Day 3 now and I have to say I find it most hard at night. My dreams are filled with this....
and this...
and this...
and I mean, seriously?
I have to confess this morning I ate one cocoa puff from my son's cereal bowl. It was automatic! As soon as I had crunched the sweet little morsel I realized what I had done! Too late. Oh well, from here on - no more. Wish me luck. And for those of you not silly enough to deprive yourself until Easter.
Friday, February 17, 2012
Chocolate, Chocolate, Chocolate
Valentine's Day is always a good excuse to make ridiculously decadent treats! I saw this amazing cupcake and I knew I had to try to recreate it. Instead of making regular size cupcakes I went with small ones. For some reason I thought I would be just able to eat one small one and that would be much less sinful than a full size one. I don't think that mentality quite worked out...these were so yummy I could not stop after one, or two, and I really had to stop after three because then I started to feel a little sick!

Not sure why I didn't think of covering cupcakes in chocolate before. Awesome idea.

I didn't have much time to put these together so I grabbed a box of chocolate cake mix and a tub of whipped frosting. My husband said they were the best cupcakes I ever made. He didn't see the box or tub so all of the credit went to me. Score.

The chocolate coating was made with 12oz of milk chocolate chips and 3 tablespoons of vegetable oil. Melt it in a bowl on top of a saucepan. I made 24 mini cupcakes and I had plenty of chocolate topping left over.


Not sure why I didn't think of covering cupcakes in chocolate before. Awesome idea.

I didn't have much time to put these together so I grabbed a box of chocolate cake mix and a tub of whipped frosting. My husband said they were the best cupcakes I ever made. He didn't see the box or tub so all of the credit went to me. Score.

The chocolate coating was made with 12oz of milk chocolate chips and 3 tablespoons of vegetable oil. Melt it in a bowl on top of a saucepan. I made 24 mini cupcakes and I had plenty of chocolate topping left over.

Tuesday, February 14, 2012

Monday, February 13, 2012
kisses & wishes

Here is a fun last minute Valentine's idea. It's so simple to make but I think it is pretty sweet (pun intended)! I call it kisses & wishes because that is just what it is...a jar of kisses and a jar of wishes.

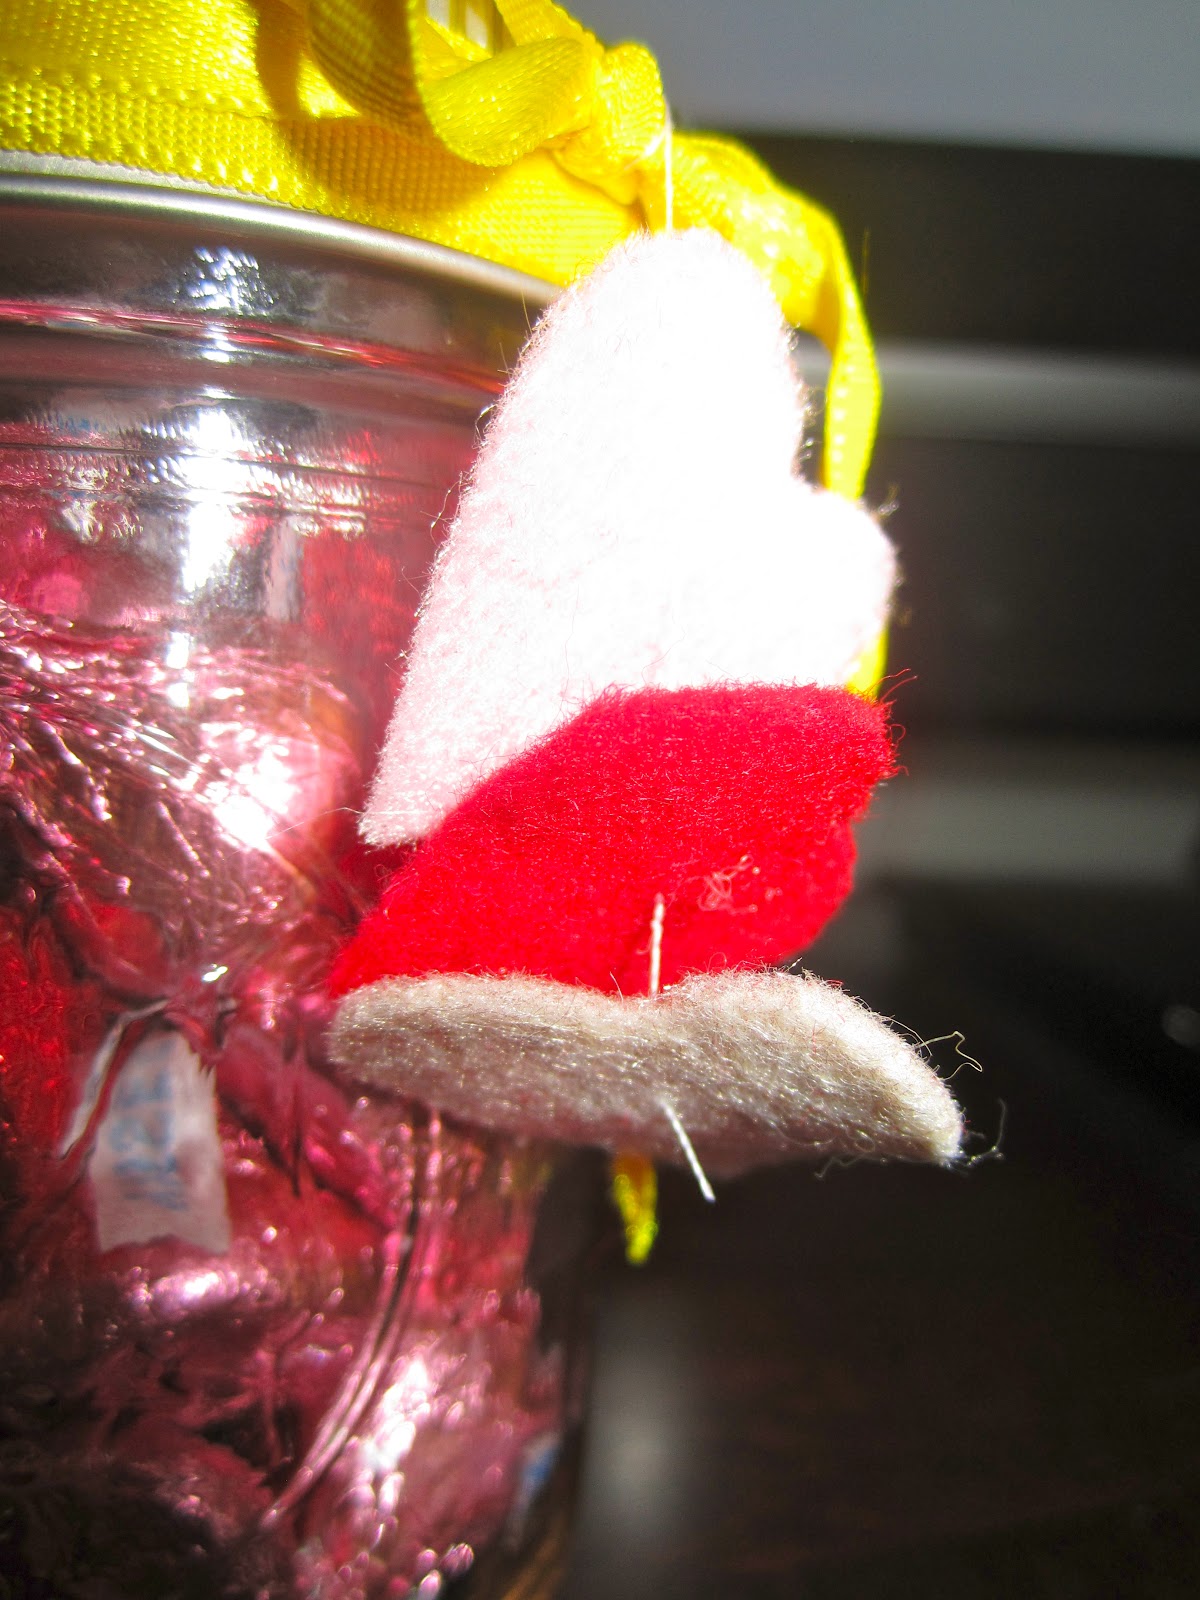
I started out with two jam jars. The first one I filled with Hershey kisses and decorated with a yellow ribbon and some felt hearts that I cut out on just strung on a piece of thread.
The second one is filled with wishes. Basically I wrote my wishes for my two Valentines and put them in a jar. Writing out the wishes almost brought a tear to my eye.
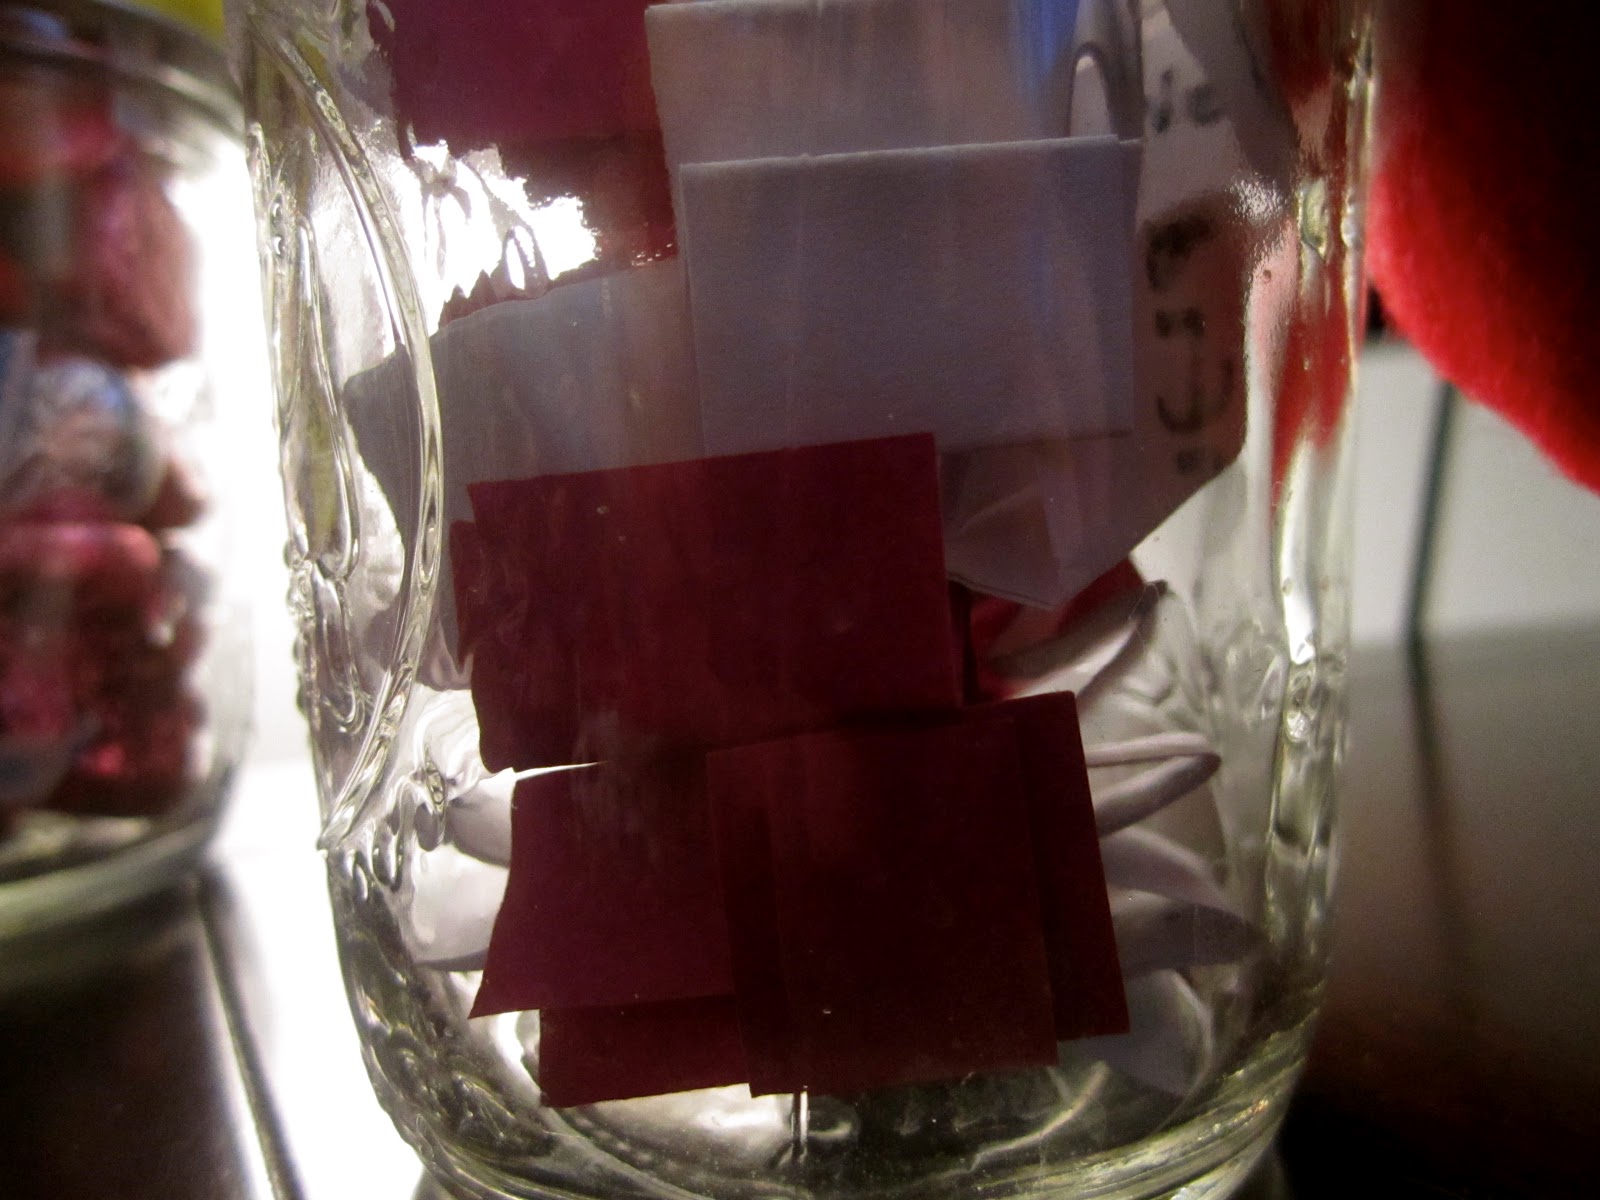
Some of the things I included were: I wish you joy, I wish you courage, I wish you friendship, I wish you success. I want so much for my little boy but in the end I just wish him happiness. What else is there?

The wish jar is decorated with a stuffed felt heart heart and some white ribbon. A cute pair I think!

Subscribe to:
Posts (Atom)