It is a superhero love fest in our house at the moment. "The guys" have to go everywhere with him, even to bed. I decided to have a go at making a simple superhero mask and all of sudden, best mum ever! I even had to make a second one for myself or Daddy to wear. As soon as he put it one he was out zooming around the garden and showing me examples of "incredible strength" as he puts it.
Tutorial:
Materials:
8 - 10 inches of 1/4 inch soft elastic depending on your little one's noggin.
10" x 6" of felt or other material - 2 pieces.
PDF template
Note - if you use another material other than felt you might want to add fusible interfacing for support.
Print out PDF and cut out template.
Place PDF on both pieces of material with wrong sides facing. Pin and cut.
Measure the elastic by putting it around your little person's head and pulling it slightly so that it will stay put. Cut. Hint - use a small scissors to cut the eyes out.
Place elastic between the front and back, like a sandwich with right sides facing each other. Pin.
I found it helpful to pull the elastic through one eye hole to be sure I wouldn't sew over it.
Sew all around the mask with a 1/4 inch seam leaving a small hole to turn it right-side out.
Cut notches for turning or use a pinking shears as I have done below.
Turn right side out and hand sew the small opening shut.
Zig zag stitch around the eye holes. This is tricky. I used the smallest zig zag stitch on my machine. Don't worry too much about perfection - kids don't notice :)
That's it, the mask is ready!
And your superhero is ready to zoom!
The "green lantern ring"on his finger is literally a strip of felt tied with a knot. I love imagination.
I am sharing this post at some fun link parties - check them out.
My lilac bush is at peak at the moment and I have cuttings all over my house - the smell is fantastic. These beautiful flowers have attracted a lot of butterflies to our garden so it's a double treat. This post is a little tribute to my Dad who gave me the camera I used and who, apart from everything else that is wonderful about him, is an amazing and inspiring photographer. Happy Birthday Dad.
We had a great day yesterday and I just wanted to share some of the photos I took and some links to a few fun crafts and recipes.
First off, how cute is he? I made the bow-tie from this awesome tutorial. It really was simple to make so I will definitely be adding a few of these to his wardrobe.
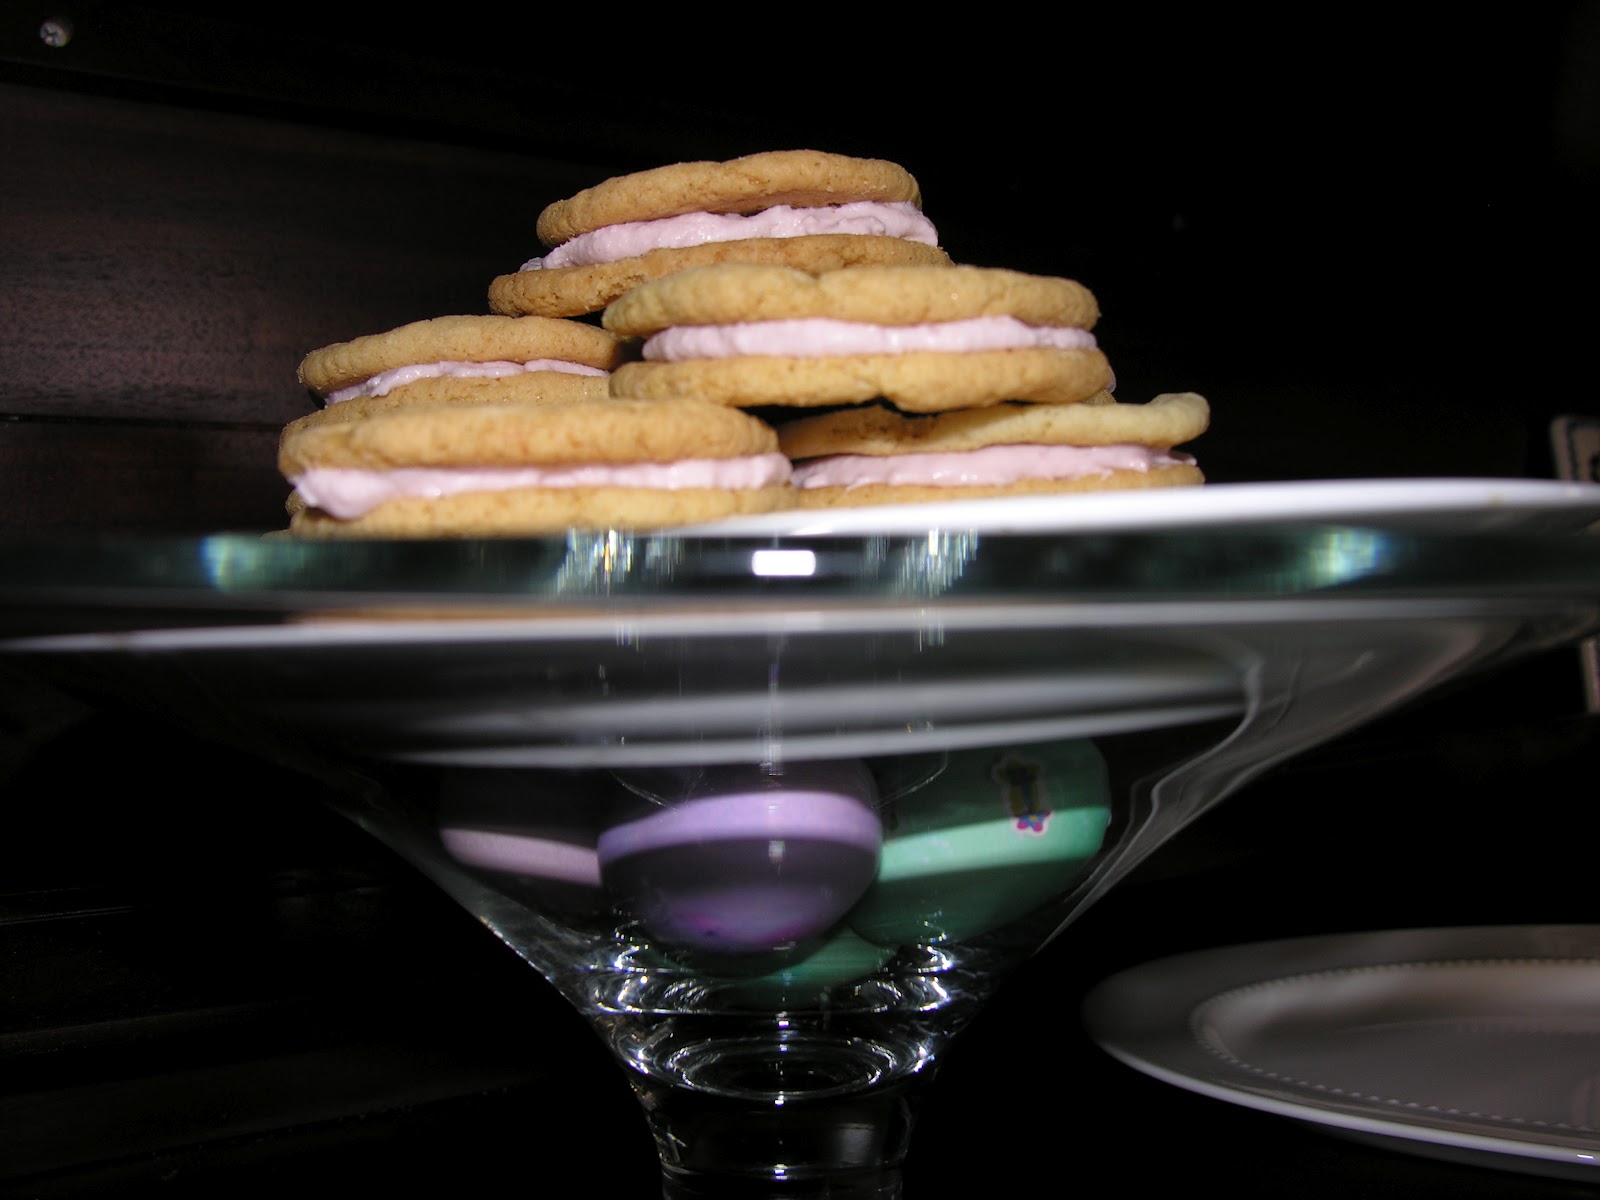
I made Martha's vanilla bean cookies with raspberry white chocolate cream. Did you know vanilla bean is so expensive? The original price in Jewel for one bean was $14. Thankfully it was on sale for 50% off but still the price tag on these cookies including the premium white chocolate and raspberries was probably over $20. They were good but next time I will make do with just vanilla extract.
I used lemons in the vase with pretty lilac from my garden. Usually we wouldn't have much at this time of year but the kooky weather brought them on earlier than usual. I thought the lemon water would kill the flowers quickly but they are still perky today.
I made these deviled eggs. The adults looked a bit suspiciously at them but the kids loved them and this plate was empty in no time.
I set up the kids for some crafting with some $1 mask kits that I got at Michael's and some Easter coloring book pages.
Great day.
Embroidery is an easy way to personalize and beautify simple items. It is especially nice for anything baby related. For this project I picked up a couple of white onesies for about $5 and turned them into something a little more special.
To start out find the center of your garment so you know where to place the wording. Then using your embroidery hoop to stabilize the garment lightly write out the word you want to embroider in pencil. I write so lightly that you can barely see it but it's enough to guide you and then it will come out easily in the wash. You could also find some word art online to help you design your embroidery but I just free hand it.
I used a simple back stitch for this. It is the most basic of stitches but it is nice and neat and for a lightweight garment like this it seems to work best. Just remember that when you are starting your first letter that you go one stitch length in from the bottom so you can back up to where you actually want the first stitch to be.
The felt flowers are simple to make and you can find good tutorials for them here and here.
This kind of project makes for a great baby gift and of course you could personalize the garment with a name.
I'm sharing this project at some super cool link parties - check them out.